Friday, November 23, 2012

photography tips - how to pose (5)

When you go out with group of people, this guide might be helpful if you do not know how to pose:

posing-guide-groups-of-people01.png
Very simple, just put them close to each other. Then you can consider them as one object. To be in specific order is not that necessary. As long as everybody is visible is good enough. Try to capture full and half body.


posing-guide-groups-of-people03.png
A shot from slightly elevated angle would be nice. A unique view where your eyes cannot have.

posing-guide-groups-of-people07.png
The group forming a circle like this while lying on the grass. The photographer taking shot from above


Above are some examples of how to pose for group of people. Of course there would be more. If you have any creative idea, feel free to share.


source: http://digital-photography-school.com/posing-guide-21-sample-poses-to-get-you-started-with-photographing-groups-of-people

Tuesday, November 20, 2012

my photo: miniature


bicycle made in Bali
trishaw at Jonker Walk

fridge magnet at Jonker Walk


Saturday, November 3, 2012

Photography tips - how to pose (4)

When I go out with my wife, these examples really help me on how to pose:
1. Standing face-to-face while looking at the camera. The lady put his palm on the chest of her man. Both subject  are at  left or right of the picture and will give more space for background

2. The man hugs the lady from her back. The couple may look at each other or look straight into camera.

3. Now it is time for the lady to hug her man from his back. The arms should  look simple and natural.


For more couple posing guide, you can refer to :
Couple posing guide

Monday, September 3, 2012

my photos


Just tore down the receipt into some shape.

Then put it on grass and focus at it.

Monday, August 27, 2012

ND Filter

In previos post, I did talk about protecting our lens by using UV filter. Yes, it is a good measure but recently I discover that there are a lot of filter available in the market with features to enhance or give special effect to our picture.

One of the best filter that I love so much is Natural Density (ND) filter. According to Wikipedia, ND filter is a filter that reduce the intensity of all colors of light equally.

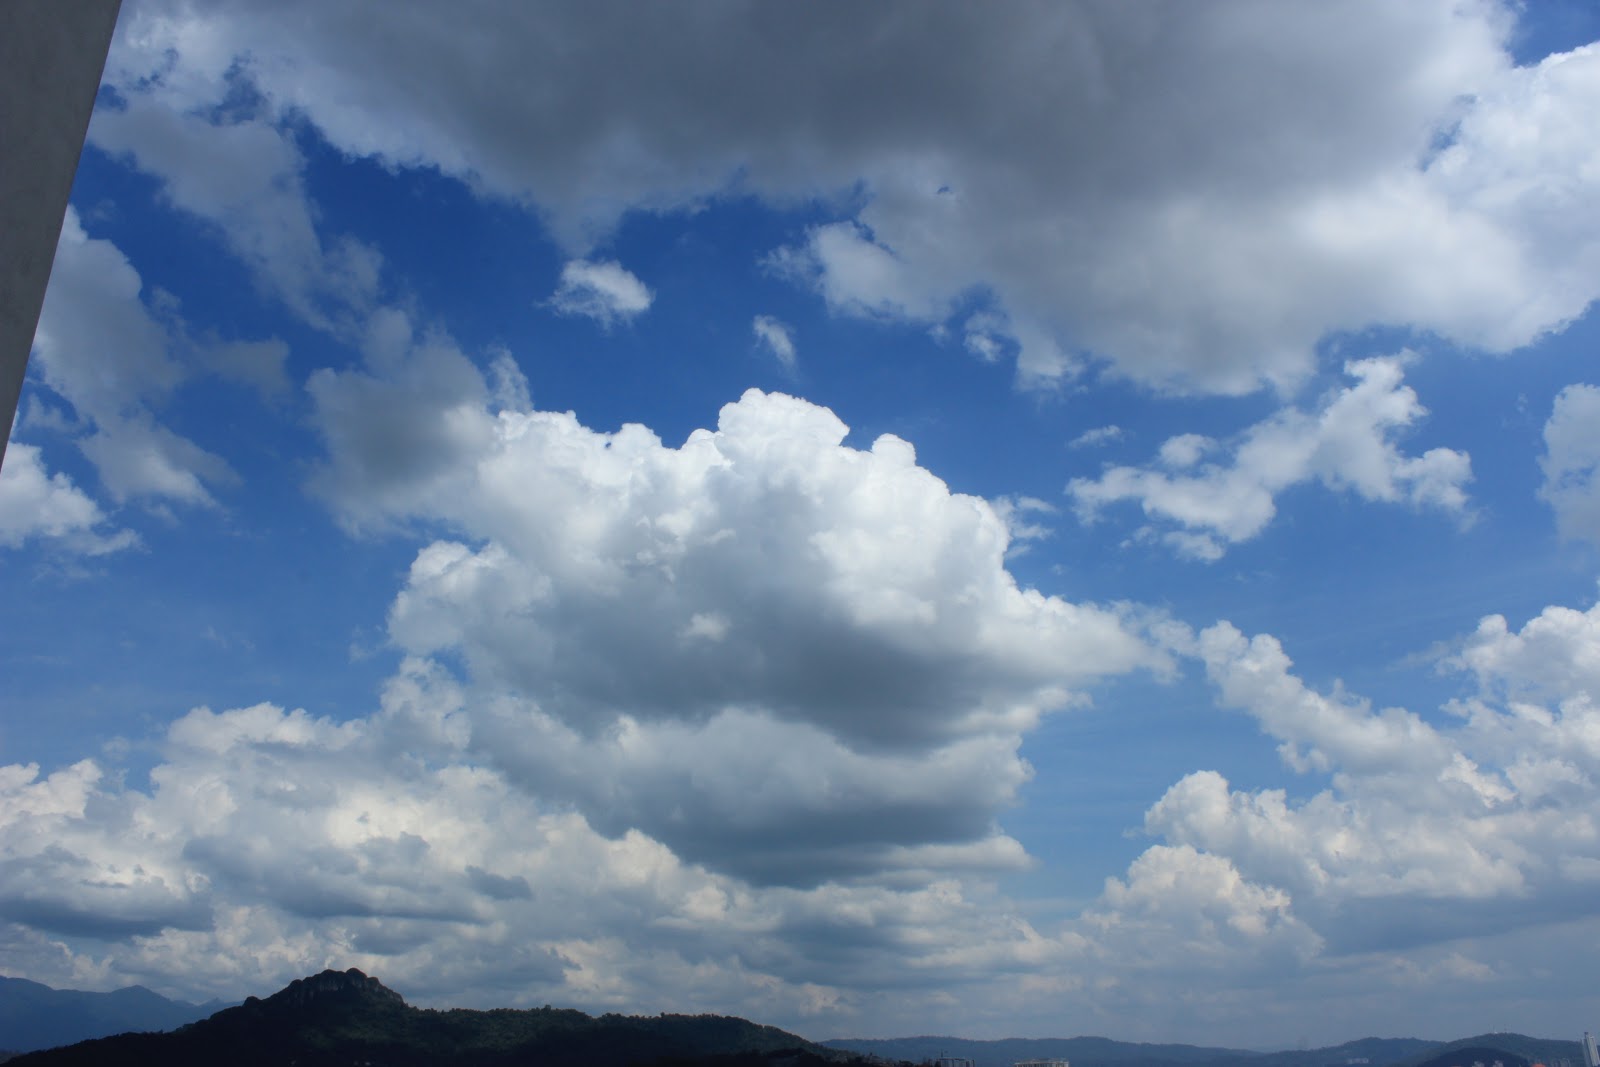
I love to use ND filter for outdoor because it turns the sky more blue than normal. However using ND filter for indoor shooting could be disaster.

with ND filter

without ND filter
Above is one of the example taking picture with and without ND Filter. Notice the cloud and the sky. With ND filter, the cloud stands out compare with the other picture.

ND Filter have several stages. Usually it starts with ND4, ND8, ND16 and so on. Note that the  higher the number the more it reduces the light intensity. The picture that I take, I was using ND8.

Wednesday, June 20, 2012

Photography tips - how to pose (3)

Finish with men, some idea for ladies...


The model sitting while looking at the camera. Both knees touch each other and resting her elbow on them.  As for photographer, it will be nicer if shoot slightly from above


The model lying on the ground while her elbow resting on the ground. The leg elevated and cross each other.


For more women pose, you can check at:
http://digital-photography-school.com/21-sample-poses-photographing-female-models 

Wednesday, May 9, 2012

Photography tips - how to pose (2)

some more pose for men:

3. sitting position suitable for outdoor position

4. if u have wall to lean on...


For more men pose, you can check at:
http://digital-photography-school.com/21-sample-poses-to-get-you-started-with-photographing-men 

Thursday, April 26, 2012

Photography tips - how to pose (1)

Undeniably, our skill and equipment play vital role in ensuring great product.

Many of us however forget that our model also should know how to pose.

Here are some example of how can we get our model to pose:


  1. men: An upper body shot with crossed arms. Can be enhanced more by pulling back the shoulders a little bit plus stomach muscle kept in check


2.men: sitting pose, putting the ankle of one leg  onto the knee of the other looks  relaxed and natural


Monday, October 24, 2011

Photographer tips -Bird Photography (1)

Here are some tips for those who love bird-watching at the same time equipped with adequate photography tools. These might help you to get your best shot at the same time keep minimum disturbance on the birds.
  1. Keep well back from the nests so as not to disturb or stress the birds
  2. Keep each photography session brief
  3. Do not use flash photography, especially close-ups
  4. For night photography, shine the light indirectly or on the bird's lower body. Never shine at its face
  5. For longer sessions such as when studying bird behavior, use a hide or a natural cover e.g.:tree

Thursday, September 1, 2011

Photographer tips - Cleaning (5)

Brushes

Brush is one of a good tools to get dust off your camera. As a tip, you might want to use brush with fine and soft hair (camel hair) to avoid scratching your lens.

Lens cleaning pen is also a great tool because it has a retractable brush on one end and a cleaning pad on the other.

Tuesday, August 2, 2011

Photographer tips - Cleaning (4)

Blowers

Blowers are easily found at most camera stores at different varieties.
While using blowers, you need to be very careful with them on the inside of your camera as you might end up blowing dust into it. Blowers however, is great for external part of camera e.g.: lens.
Make sure you squeeze the blowers few times before using it.

Thursday, July 7, 2011

Photographer tips - Cleaning (3)

Cleaning cloth


An alternative to cleaning tissues is the more modern microfiber cleaning cloth. These washable cloths grab a hold of dust and oils on your lens. The main thing to be aware of with them is to keep them clean themselves with a regular wash – alternatively just buy yourself a new one as they are very cheap to buy and that’ll negate the risk of wiping something from your wash into your lens.

Before using a cloth always check the lens to make sure you don’t have any larger pieces of grit on it. The last thing you want to do is wipe it into your lens causing a scratch. Remove any larger gritty dust using a blower or brush before wiping


Friday, June 24, 2011

Photographer tips - wedding (7)

7. Little but memorable


In addition to capturing the important stages of the day e.g.: bride and groom preparation, the ceremony, romantic portraits, candids, group shots, speeches and so on, there are some time in between of these events when you can record the small things but memorable. Anything that both bride and groom have spent time and money on choosing for their big day.


Some of the things you might want to consider to give a kick to your collection:

  • bridal accessories (jewellery, shoes, bouquets, bags, headwear and the list goes on)
  • table decorations
  • the cake
  • flowers
  • party favours
  • seating plan
  • place settings
  • bows tied to the seat
  • reception venues
Create soft effect by using wide aperture (f4 or f5.6) and crop in close using a fast lens


Read more: http://www.digital-photography-school.com/wedding-photography-101-2#ixzz1QGLDYx5i

Sunday, June 19, 2011

Photographer tips - Cleaning (2)

Lens cleaning fluid


This alcohol-based lens cleaning fluid will help you to lift off fingerprints and other smudges without leaving streaks on your lens or filter. Just a small portion of fluid at a time - a drop or two, wipe in a gentle circular motion with a cleaning tissue will remove most marks on a lens or filter. Always apply the fluid to a cloth or tissue rather than the lens itself.

Sunday, June 12, 2011

Photographer tips - Cleaning (1)

UV or Skylight filter


Prevention is better than cure. Before going deeper to cleaning, filters is the things you need to have to reduce the frequency of cleaning, as well as reduce the risk of scratches and breakage. Keep it attached to your lens at all times. It will also cut out UV light.


. It also means that when you do your cleaning you’ll just be cleaning the filter instead of the actual lens (unless dust gets right in). Keep in mind that filters come in different levels of quality – if you have a high end lens consider investing in a higher end filter.

Lens hoods can also help protect the end of your lens as do the lens caps for both the front and back end of your lens that come with it – always use them!


Read more: http://www.digital-photography-school.com/how-should-i-clean-my-dslrs-lens#ixzz1P2p4blHW

Photographer tips - wedding (6)

6. Backing up


If you have time and the equipment on hand – back up your images onto a storage device, laptop or use built in wi-fi technology or a wi-fi card (such as the Eye-Fi memory card) to beam the images to your desktop. Whatever you do don’t format the cards until you have edited your frames and ensured everything is securely backed up across a handful of hard drives.


To reduce the probability and consequence of losing files or shooting on a corrupt card, user several medium capacity (2-8 GB) cards. Separate the files into e.g.: preparation, ceremony, reception, evening etc.


Read more: http://www.digital-photography-school.com/wedding-photography-101-2#ixzz1P2ntWSFS

Saturday, May 21, 2011

Photographer tips - wedding (5)

5. Lighting


Not just for wedding event, for other events also lighting is vital. Take some time to read and train on the techniques so that you are familiar on what to do on that event. Familiarizing with lighting effect makes you not stopping too long during the event finding the right setting to capture the moment - you need to understand with your set up of your DSLR at the back of your hand.


Not only will the subject’s grow impatient but you could find yourself missing those all important ‘moments’ because you were too busy fiddling around in the settings menu.


Read more: http://www.digital-photography-school.com/wedding-photography-101-2#ixzz1N39GtJqE

Thursday, May 5, 2011

Photographer tips - wedding (4)

4. Camera setting

There are no hard and fast rules to adopt in terms of learning what aperture/shutter speed combination to use for which occasion, as it is mostly depends on variables of quality and quantity of light. It is highly recommended to focus more on the 'moment' or 'candid' rather than spending effort on getting the right technique


In general, some of the following apertures are used as a simple guideline but it shouldn't stop you from trying something new.


a) As for indoor arrangement, it tends to lack of natural light. If you cannot use your flash, and you'll start pushing your ISO as much as possible before it starts to be grainy. Opt for a fast lens and try to use a wide aperture even as low as F1.4 or F2.8 to make the most of the light available. You can also use the same aperture setting for the small yet significant items such as the rings and bridal accessories, thus softening the background but generating enough depth of field to render the and


b) For candid shooting and portraits, use F5.6 will keep the subject in focus yet blur distracting background detail. However there are occasions when you might prefer to slip into shutter priority, for example to capture children chasing each other around the venue - for these occasions (depending on the light) a speed of 1/250 to 1/50 will lend itself for creating some charming results.


c) Depending on the number of guests that the couple want to appear in the formal group shots, you’ll be best using an aperture of between F8 and F11 to keep everybody pin sharp – depending on the quality of your lens this may mean pushing the ISO or incorporating a tripod.


d) For pulled back compositions of the couple within the venue grounds and location shots in general you’ll need an aperture of between F9 and F11 to keep everything in sight in focus.


e) Finally for those end of the night images either use a long shutter (with some form of stability) to generate movement within the photo and for capturing waves of light from the DJ’s lighting rig, or employ a flash to freeze the action using an aperture of your choosing to compliment the effect you wish to achieve


Read more: http://www.digital-photography-school.com/wedding-photography-101-1#ixzz1LUM7AsRl

Thursday, April 28, 2011

Photographer tips - wedding (3)

3. Lens choices


Three types of lenses you might want to consider that would be ideal for wedding;
i) wide focal range - for groups and location shot
ii) prime lens - for portraits and images of all the smaller yet hugely significant items such as: the rings, party favours, flowers, bridal accessories
iii) telephoto - for spontaneous ‘moments’ that people treasure because they show the subject as being ‘real’.

Read more: http://www.digital-photography-school.com/wedding-photography-101-1#ixzz1KpQD32WM

Tuesday, April 26, 2011

my photo: Korea in Memories (2)


This is one of the view at Nami Island.

Nami Island is very famous for its magnificent view. It is also known as Island of Romance because it host the shooting area for famous Korean series; Winter Sonata.

I can say, this island has witnessed enormous romantic moment between couples around the world.

Geographically, Nami Island located quite a distance from its capital, Seoul. However, it is still feasible to reach by land transportation e.g.: bus, taxi or car


Another mesmerizing view at Nami Island


These photos was taken by using different cameras. The picture was taken by using Nikon and Canon respectively. Can't remember which model because I was using my friend's cameras.